Wholesale Price Automotive Checking Fixture - Wheel House Liner Single Plastic Checking Fixture – TTM
Wholesale Price Automotive Checking Fixture - Wheel House Liner Single Plastic Checking Fixture – TTM Detail:
Function
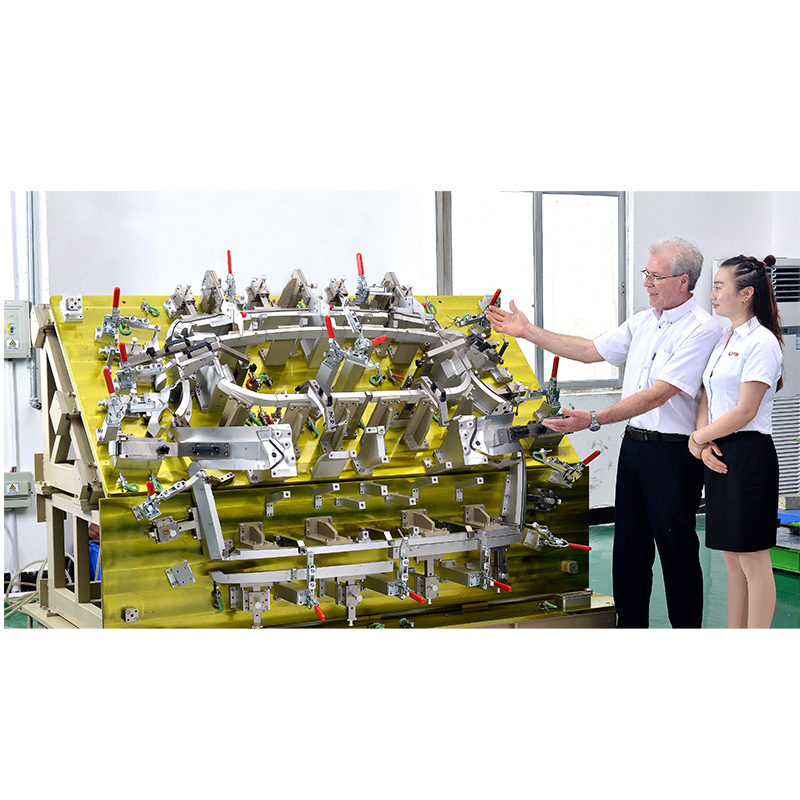
For Wheel House Liner CF quality inspection control and support to improve the automotive production line capacity rate.
Specification
|
Fixture Type: |
Wheel House Liner CF |
|
Size: |
1800*900*1500 |
|
Weight: |
145KG |
Product Details
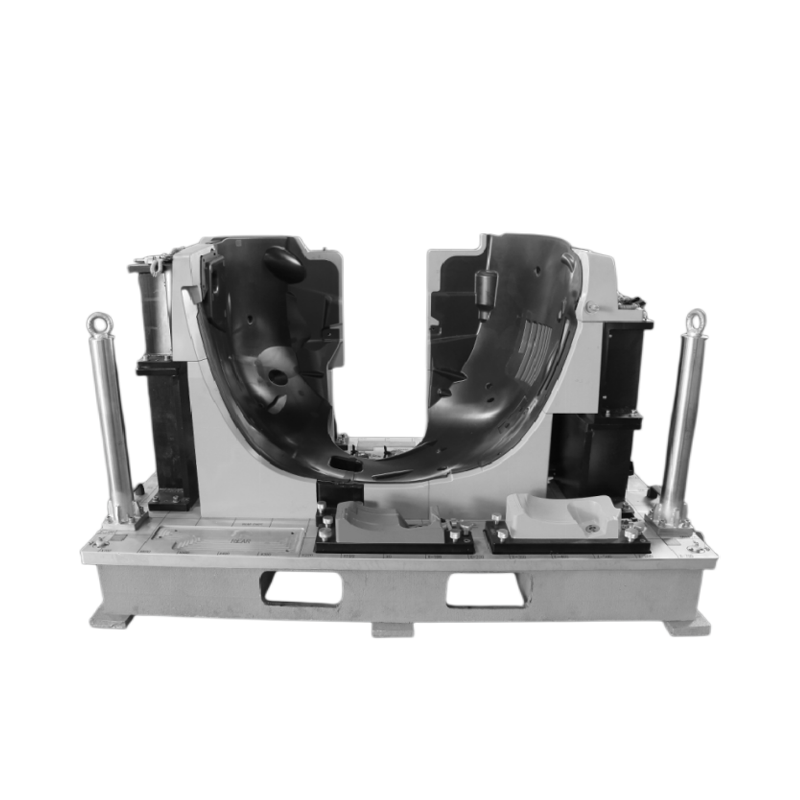
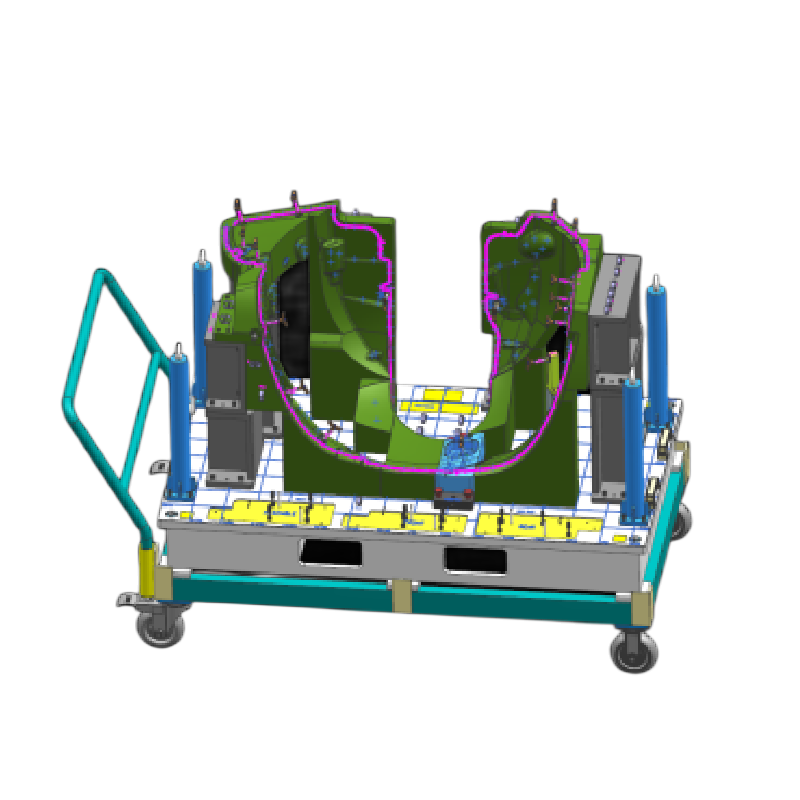
Use And Maintenance
X167 is used in place of the piecework under test place platform, support bar including horizontal support bar and the vertical support bar, horizontal support bar is fixed on the base, the level of support bar placed on a micrometer, whose character is: Micrometer and fixed on the cylinder, the cylinder is fixed on the fixed plate, a fixed plate through the first transmission device fixed on the horizontal support bar, the first transmission device including level within the support bar first for cavity, placed in the first the first screw for cavity, in the first set screw on the first fixed block, the first to open the first long slot for cavity surface, The first fixed block through the first long groove close to the cavity wall of the accommodating cavity, the first fixed block is provided with a threaded hole with the first screw; Place the bottom of the table horizontally.
Connected with a second fixed block, the base is provided with a second screw, connected with the second screw of the second motor, the base surface is placed on the plate is provided with a second long groove, the second fixed block is provided with internal threads and set on the second screw, the second fixed block and the second long groove wall close, and extend the surface of the plate; A plurality of support blocks are arranged on the horizontal platform, and the surface of the support block is arranged in an arc and close to it
Surface of piecework to be measured.
The side wall is provided with a connecting port, and the negative pressure sucker is connected on the surface of the supporting block, and the negative pressure sucker is close to the surface of the supporting block, and the adhesive is fixed. According to a bridge inspection tool mentioned in claim.
The first cylinder is provided with a card block, the fixed plate is provided with a card slot, card block card.
In the card slot, the end of the fixed plate is perpendicular to the fixed plate is provided with a vertical plate, the vertical plate is opened with a round hole, the second cylinder is fixed in the vertical plate, and the piston rod is connected to the first cylinder through the round hole.
Less deviation in the assembly process. The inspection tool in 03 prior art is fastened by the collect, and the micrometer is fixed by the collect, which is driven by the cylinder or directly carried out manually.
Detection, this detection method exists in the piecework discharge.
A series of problems, such as deviation, exist in the process of leveling, which seriously affect the detection accuracy of the tester. The utility model provides a new type of cab checking tool, which can solve the above technical problems. The utility model is realized by the following technical scheme: a cab inspection tool comprises a base and a support Rod, the base is provided with a placement platform for placing the piecework to be tested, the support rod includes a horizontal support rod and a vertical support rod, the horizontal support rod is fixed on the base, and the horizontal support rod is placed on the base Micrometer, micrometer is fixed on the first cylinder, the first cylinder is fixed on the fixed plate, the fixed plate is fixed on the horizontal support rod through the first transmission device, the first transmission device includes a horizontal support.
The first accommodating cavity in the pole, the first screw placed in the first accommodating cavity, is set in the first.
The first fixed block on the screw, the first accommodating cavity surface is provided with a first long groove, the first fixed block through the first long groove close to the accommodating cavity wall, the first fixed block is arranged with the first screw.
A plurality of support blocks, support block surface arranged arc, close to the surface of the piecework to be tested. Preferably, the placement platform and the support block are provided with a connected airway, and the airway is on the placement platform.
The Working Flow
1. Received the purchasing order -——-> 2. Design -——-> 3. Confirming the drawing/solutions -——-> 4. Prepare the materials -——-> 5. CNC -——-> 6. CMM -——-> 6. Assembling -——-> 7. CMM-> 8. Inspection -——-> 9. (3rd part inspection if need) -——-> 10. (internal/customer on site) -——-> 11. Packing(wooden box) -——-> 12. Delivery
Manufacturing Tolerance
1. The Flatness of Base Plate 0.05/1000
2. The Thickness of Base Plate ±0.05mm
3. The Location Datum ±0.02mm
4. The Surface ±0.1mm
5. The Checking Pins and Holes ±0.05mm
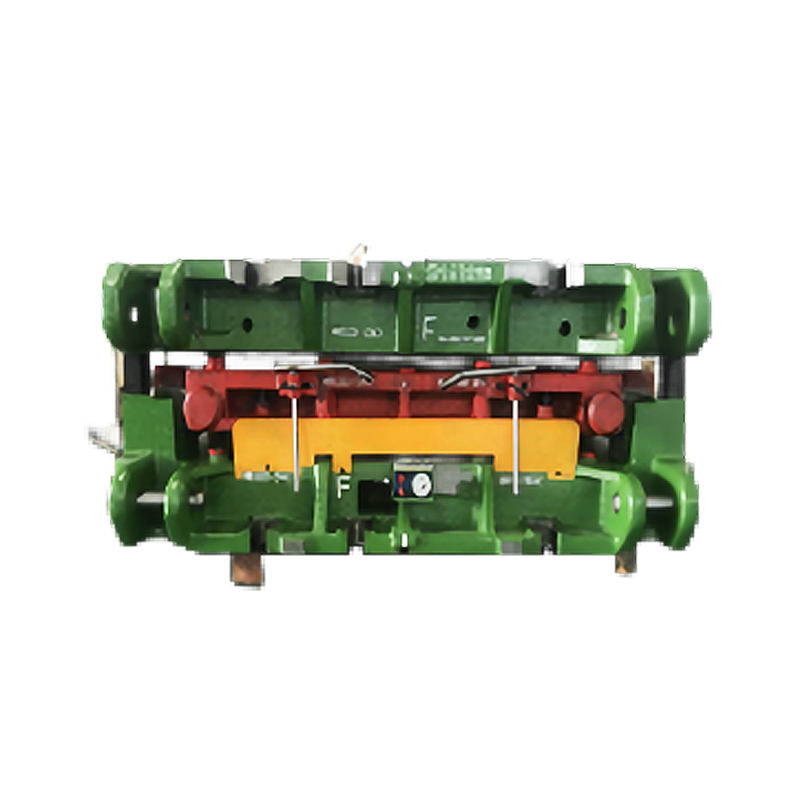
Product detail pictures:


Related Product Guide:
Our primary purpose is to give our shoppers a serious and responsible company relationship, giving personalized attention to all of them for Wholesale Price Automotive Checking Fixture - Wheel House Liner Single Plastic Checking Fixture – TTM , The product will supply to all over the world, such as: Adelaide, Puerto Rico, Hungary, Our qualified engineering team will usually be prepared to serve you for consultation and feedback. We've been able to also deliver you with absolutely free samples to meet your needs. Best efforts might be made to offer you the ideal service and items. For anyone who is interested in our company and products, be sure to make contact with us by sending us emails or contact us right away. In order to know our solutions and organization. ar more, you can come to our factory to determine it. We are about to usually welcome guests from around the globe to our corporation. o create small business relations with us. Please genuinely feel no cost to speak to us for enterprise. nd we believe we have been gonna share the most effective trading practical experience with all our merchants.
The company's products can meet our diverse needs, and the price is cheap, the most important is that the quality is also very nice.

1.png)

.png)
.png)