Welding Fixture For Cross Member WS Spring Link
Video
Application Fields
Automotive industry quality control
Automotive production line production capacity improve
Specification
|
Fixture Type: |
Arc Welding |
|
Size: |
1800x1300x900mm |
|
Weight: |
125KG |
|
Material: |
Main Construction: metal Support: metal |
|
Surface treatment: |
Base Plate: Electroplating Chromium and Black Anodized |
Product Details
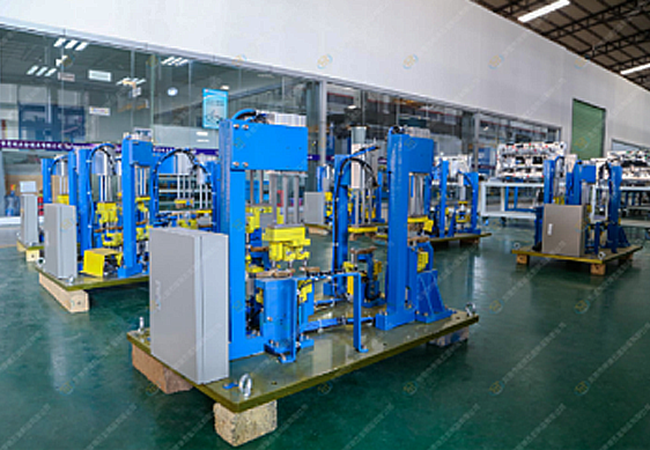

Detailed Introduction
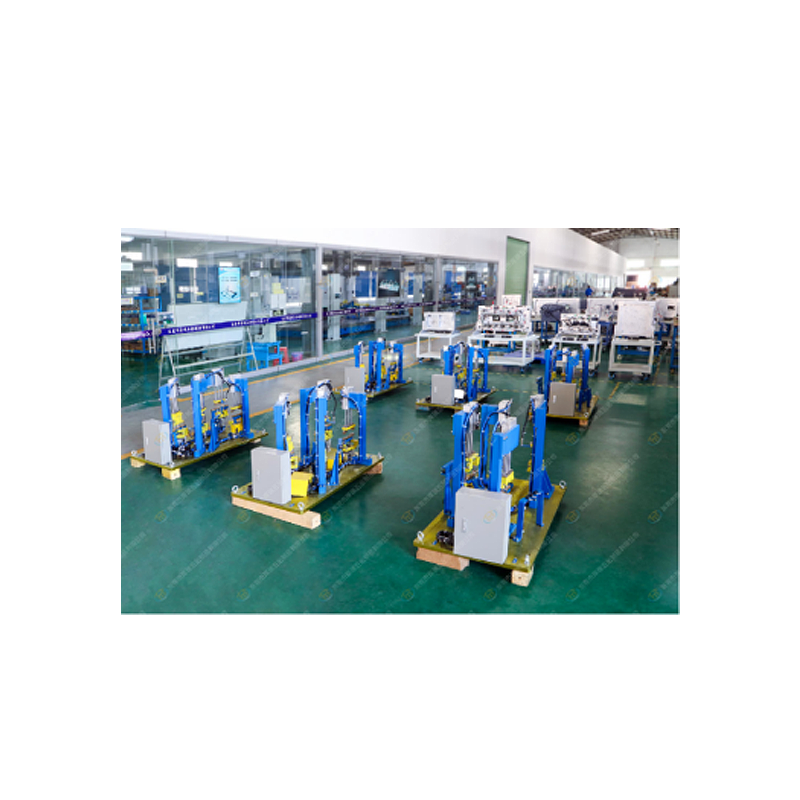
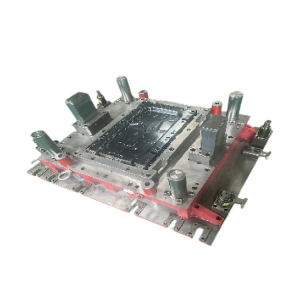
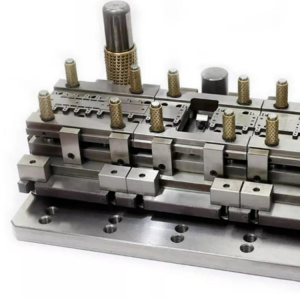
This is a batch of welding fixture of WL Cross Member WS Spring Link , totally in 2 sets, we made for our Canada customer.The spring chuck shank is a cylindrical fixture installed in a milling machine to imprison a drill or a milling cutter. Insert the chuck into the lock nut and gently screw the lock nut with the spring chuck onto the shank, connector or spindle. Depending on the elasticity of elastic steel to tighten, loose clamp convenient, mostly used for clamping light, medium load cutting tools. It is often used for clamping cutting tools such as end mills, drill bits, taps, reamers and center drills. Change the clamping range by changing the different collects.When clamping, the thread part of the spring chuck, lock nut and positioning surface and cone surface should be cleaned. During the installation of the chuck and lock nut, the chuck and lock nut must be tilted to a certain Angle and then placed into the lock slot of the lock nut. Do not use the extended powerful wrench torque is too tight, to prevent the meteorite bad tool and fixture.
The Working Flow
1. Received the purchasing order -——-> 2. Design -——-> 3. Confirming the drawing/solutions -——-> 4. Prepare the materials -——-> 5. CNC -——-> 6. CMM -——-> 6. Assembling -——-> 7. CMM-> 8. Inspection -——-> 9. (3rd part inspection if need) -——-> 10. (internal/customer on site) -——-> 11. Packing(wooden box) -——-> 12. Delivery
Manufacturing Tolerance
1. The Flatness of Base Plate 0.05/1000
2. The Thickness of Base Plate ±0.05mm
3. The Location Datum ±0.02mm
4. The Surface ±0.1mm
5. The Checking Pins and Holes ±0.05mm
Process
CNC Machining(Milling/Turning), Grinding
Electroplating Chromium and Black Anodized Treatment
Design Hours(h):40h
Build Hours(h):150h
Quality Control
CMM (3D Coordinate Measuring Machine), Vms-2515G 2D Projector, HR-150 A Hardness Tester
Third Party Certification done by ShenZhen Silver Basis Testing Technology Co., Ltd , ISO17025 Certified






.png)
.png)