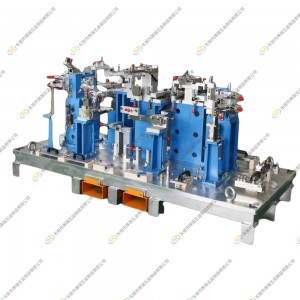
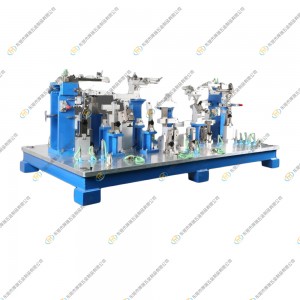
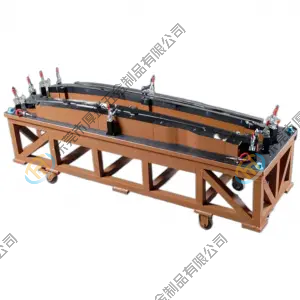
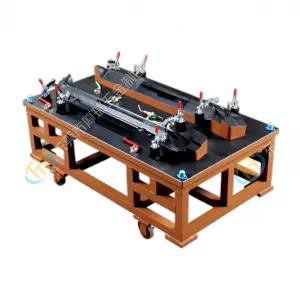
TTM Factory Best Inspection Fixtures Car Cross Beam Checking Fixture Design
Video
Function
- Form inspection
- Trim line inspection
- Go/no go for every holes
- Hole position inspection
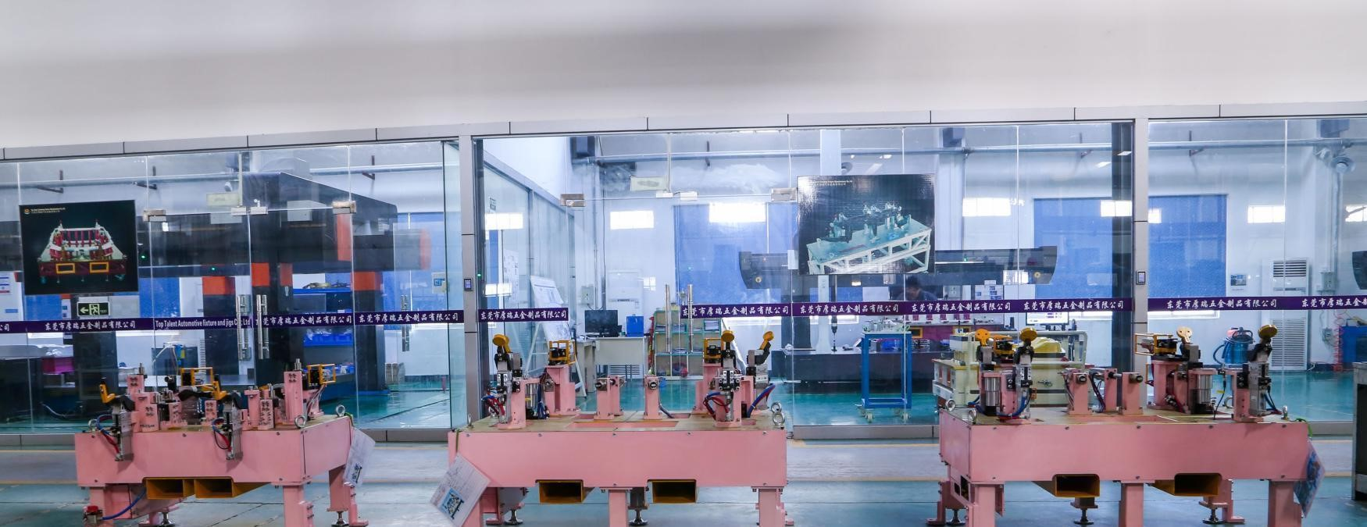
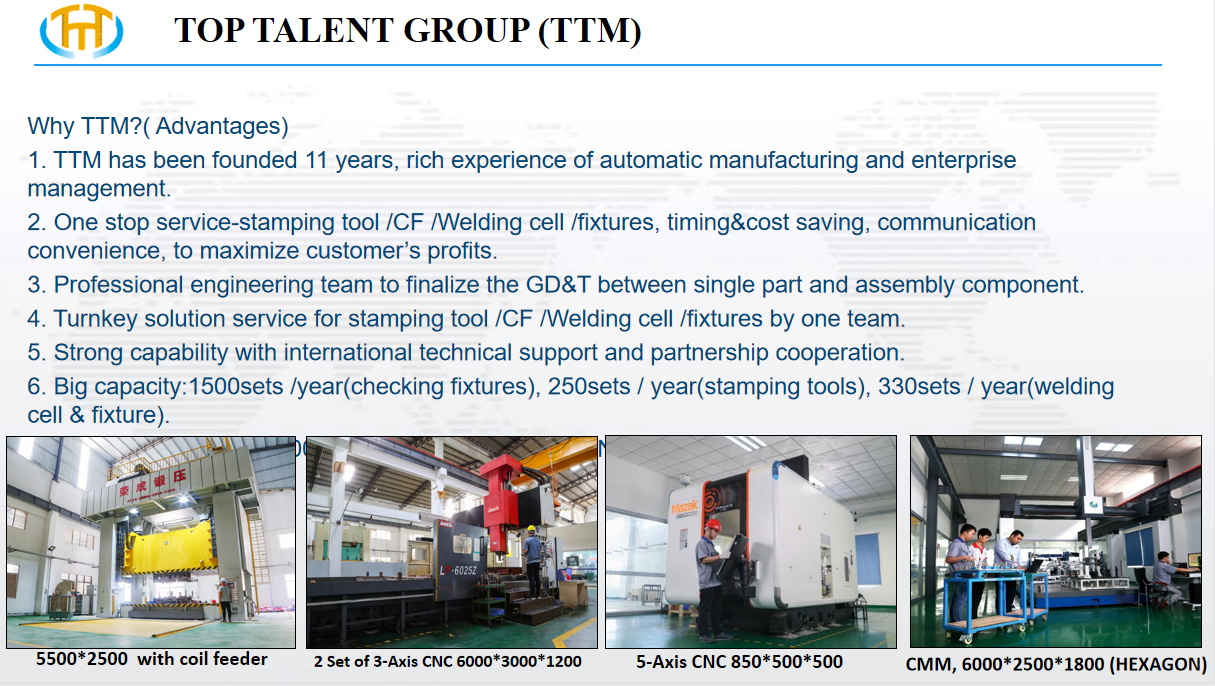
About US
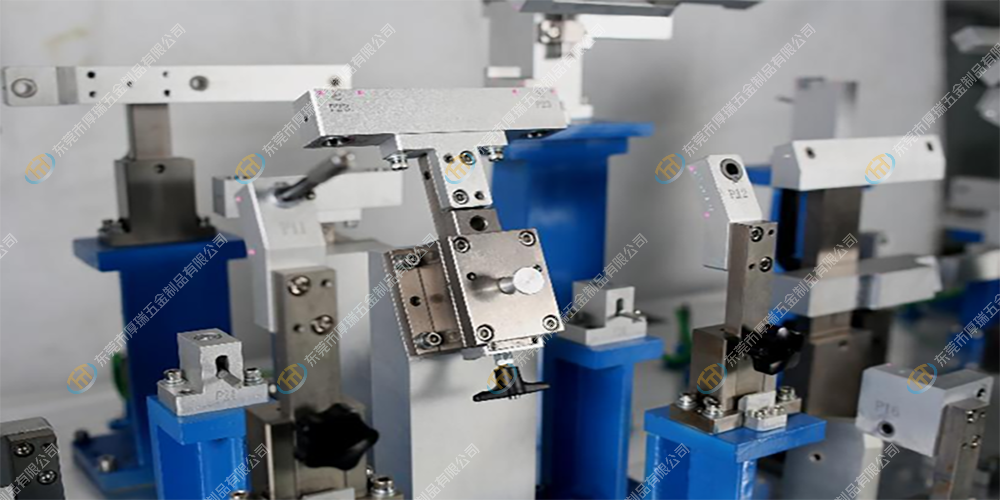
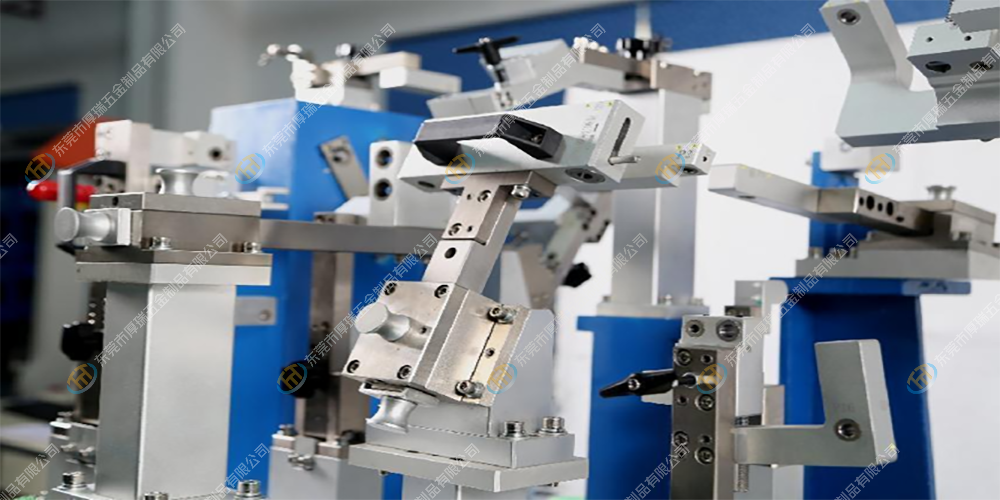
Use
By placing the car beam in the inspection tool, various parameters in three-dimensional space can be detected, such as size, position, shape, etc., so as to ensure that the quality and accuracy of the car beam meet the requirements. Car Cross Beam Checking Fixture is widely used in the quality control and inspection links in the automobile manufacturing process, which is of great significance for improving the manufacturing quality of automobiles and reducing production costs.
Our Working Flow
1. Received the purchasing order -——-> 2. Design -——-> 3. Confirming the drawing/solutions -——-> 4. Prepare the materials -——-> 5. CNC -——-> 6. CMM -——-> 6. Assembling -——-> 7. CMM-> 8. Inspection -——-> 9. (3rd part inspection if need) -——-> 10. (internal/customer on site) -——-> 11. Packing(wooden box) -——-> 12. Delivery
Manufacturing Tolerance
1. The Flatness of Base Plate 0.05/1000
2. The Thickness of Base Plate ±0.05mm
3. The Location Datum ±0.02mm
4. The Surface ±0.1mm
5. The Checking Pins and Holes ±0.05mm





.png)
.png)