Trending Products Tube Checking Fixture - Front Bumper ASSY Checking Fixture – TTM
Trending Products Tube Checking Fixture - Front Bumper ASSY Checking Fixture – TTM Detail:
Function
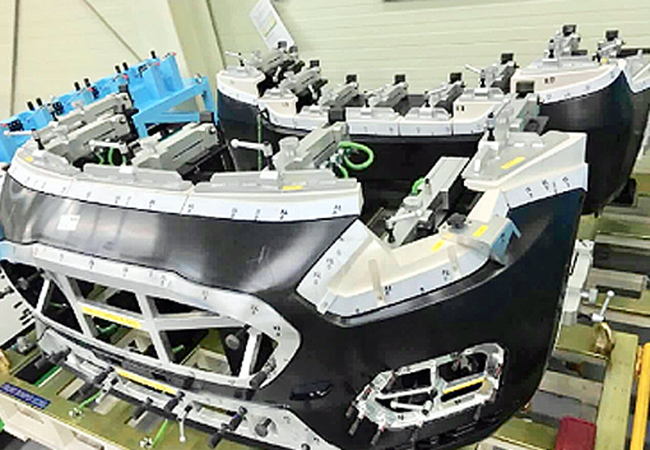
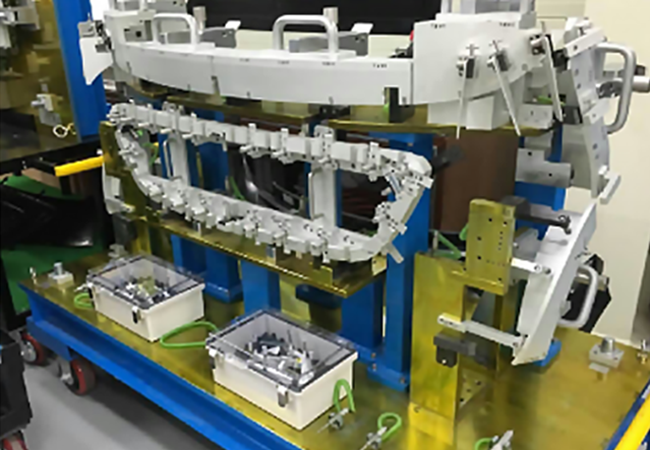
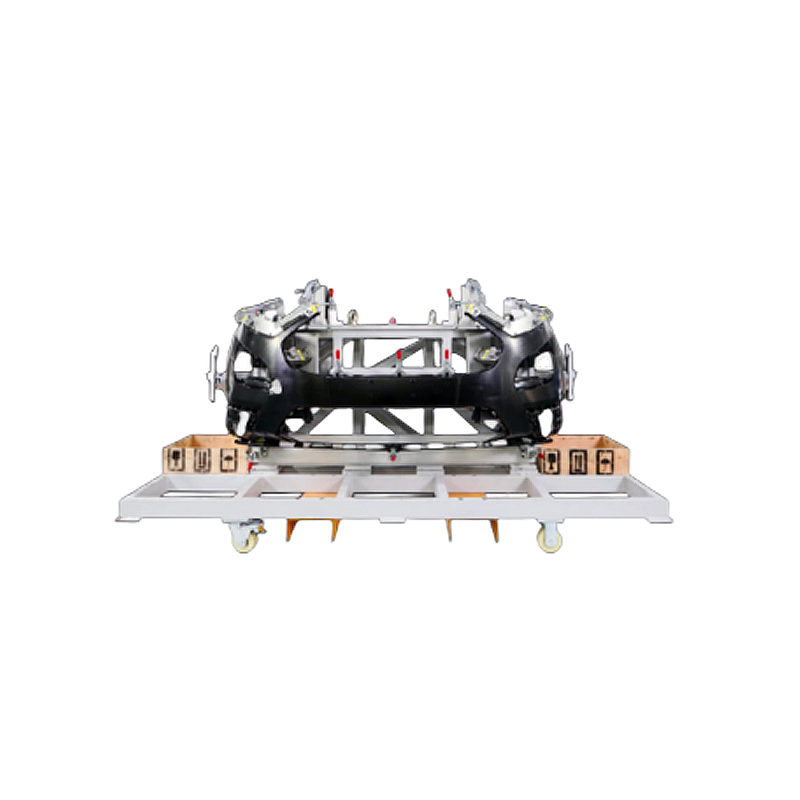
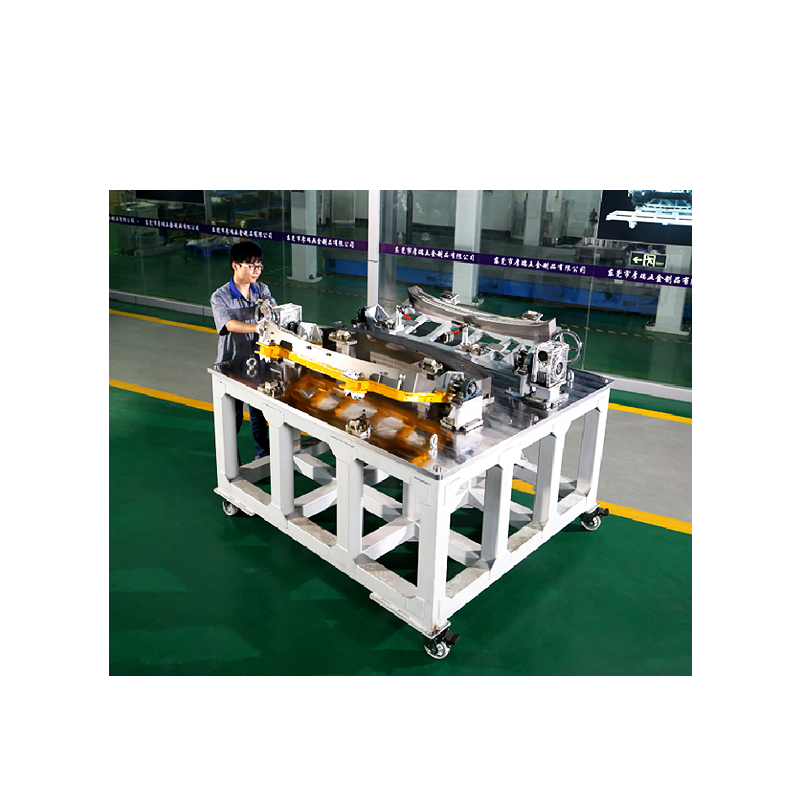
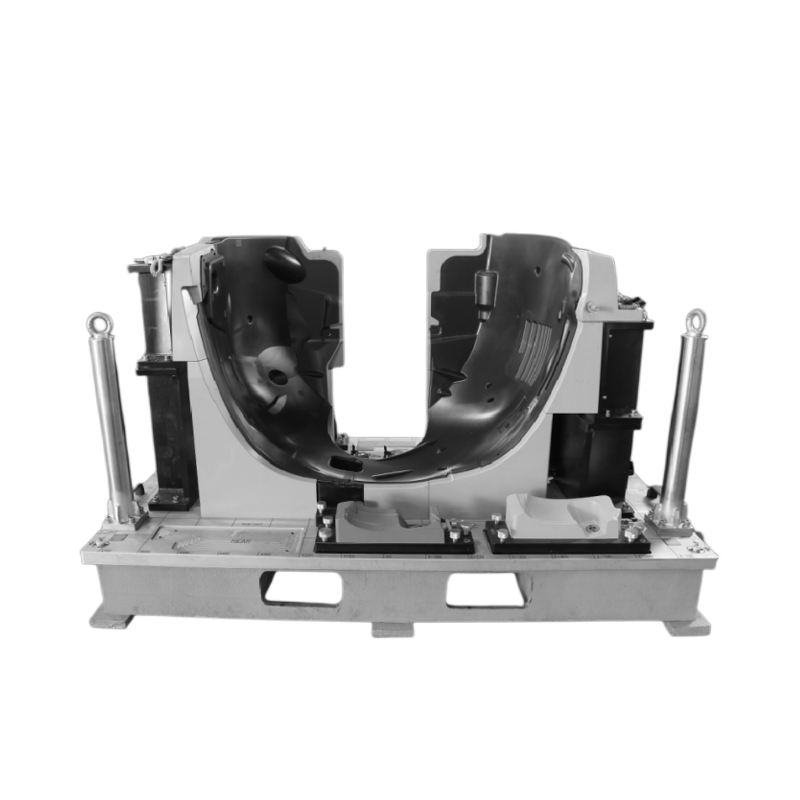
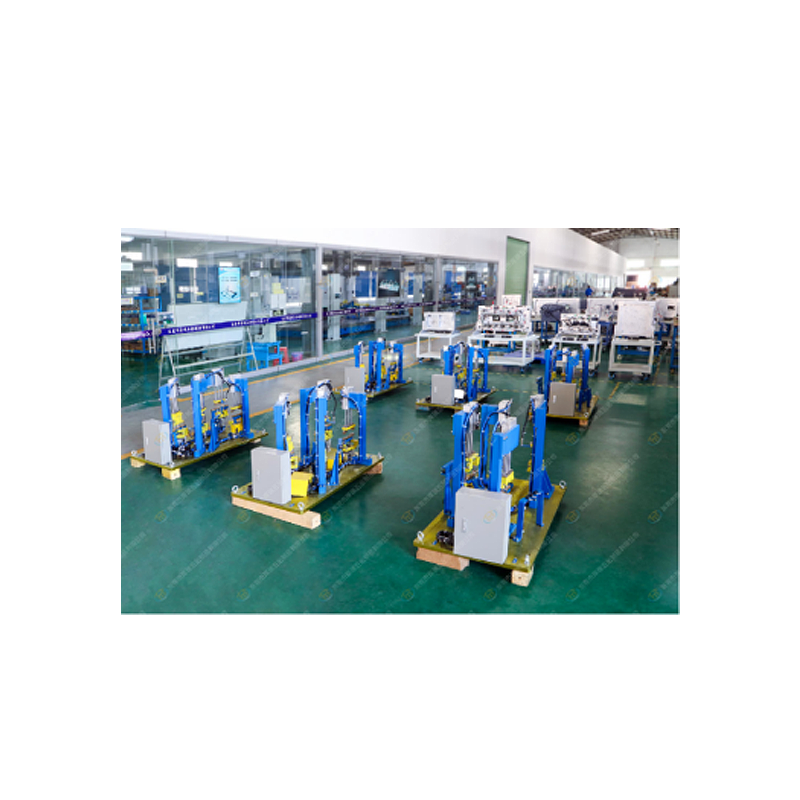
Check fixture for front bumper assembly. This is the automobile parts front bumper assembly inspection tool, to replace the professional measuring tools, such as smooth plug gauge, screw plug gauge, outside diameter caliper gauge and so on to detect the front bumper assembly, to judge whether the parts are qualified.
Application Fields
Automotive industry quality control.
Automotive production line production capacity improve.
Specification
|
Fixture Type: |
Assembly Plastic Parts Checking Fixtures |
|
Size: |
1450*980*1180 |
|
Weight: |
145KG |
Product Details
Detailed Introduction
This is a front bumper ASSY checking fixture, which include: table are located on both sides of the workbench, and through the first brackets support dowel pin, positioning pin to wear a scaffold in the bar before assembly: set the bar before the first brackets and resistance in the bracket assembly first a certain plane and the second locating surface: the second brackets, second brackets have inconsistent third locating surface of stents in the bar before assembly: The third support seat: and the turning pressure assembly arranged on the upper end of the support assembly in the front bar of the worktable: wherein, the third support seat, the second positioning surface and the third positioning surface are movably installed with a test pin that can pass through the mounting hole of the support assembly in the front bar. The utility model uses positioning pins to locate the support assembly in the front bar, and aligns with each positioning surface, and then presses and locks the component by turning over, and finally uses each detection pin to detect whether the installation hole of the support assembly in the front bar corresponds to, so as to avoid the trouble of tedious detection and error in the past.The utility model relates to an automobile front bumper assembly inspection tool, which comprises a inspection tool base, on which a surface detection block and a hole detection block are symmetrically arranged. It has the following characteristics: the base of fixture after placing the workpiece hole bore log on through the hole of the workpiece, the workpiece to limit, on the face detection block on both ends of the workpiece, and keep a certain gap with face detection block, using measuring tool inspection surface piece ends with the workpiece bottom plane gap between the poor and the through hole detection block artifacts on the location of the mounting holes. The utility model has the advantages of simple structure, not only to ensure its reliable and stable support, convenient fast and accurate detection, but also to further simplify its structure, and thus greatly improve the production efficiency of the staff.
The Working Flow
1. Received the purchasing order -——-> 2. Design -——-> 3. Confirming the drawing/solutions -——-> 4. Prepare the materials -——-> 5. CNC -——-> 6. CMM -——-> 6. Assembling -——-> 7. CMM-> 8. Inspection -——-> 9. (3rd part inspection if need) -——-> 10. (internal/customer on site) -——-> 11. Packing(wooden box) -——-> 12. Delivery
After-Sales Services
A. Supplying Technical Documentation&Training
B. Supplying Spare Parts List
C. Recommended Spares & Replacement Parts
D. Reliability and Maintainability
E. Equipment Installation on Customer Site
F. Home-line Support/Production Support
G. Remote Technical Support for Commission/Problems Solving on Customer Site
Process
CNC Machining(Milling/Turning), Grinding
Electroplating Chromium and Black Anodized Treatment
Design Hours(h):40h
Build Hours(h):150h
Quality Control
CMM (3D Coordinate Measuring Machine), Vms-2515G 2D Projector, HR-150 A Hardness Tester
Third Party Certification done by ShenZhen Silver Basis Testing Technology Co., Ltd , ISO17025 Certified
Product detail pictures:


Related Product Guide:
Persisting in "High high quality, Prompt Delivery, Aggressive Price", we've established long-term cooperation with clients from the two overseas and domestically and get new and old clients' superior comments for Trending Products Tube Checking Fixture - Front Bumper ASSY Checking Fixture – TTM , The product will supply to all over the world, such as: Mauritania, Chile, Madagascar, We take measure at any price to attain essentially the most up-to-date gear and procedures. The packing of nominated brand is our a further distinguishing feature. The solutions to assure years of trouble-free service has attracted a great deal customers. The goods are obtainable in improved designs and richer variety, they're produced scientifically of purely raw supplies. It accessible in a variety of designs and specifications for the selection. The newest forms are much far better than the previous one and they're extremely popular with several clients.
After the signing of the contract, we received satisfactory goods in a short term, this is a commendable manufacturer.


.png)
.png)