Special Design for Gage Calibration - Automotive Checking Fixtures Customized Auto Parts / Automotive front Bumper mold with Testing Fixtures – TTM
Special Design for Gage Calibration - Automotive Checking Fixtures Customized Auto Parts / Automotive front Bumper mold with Testing Fixtures – TTM Detail:
Function
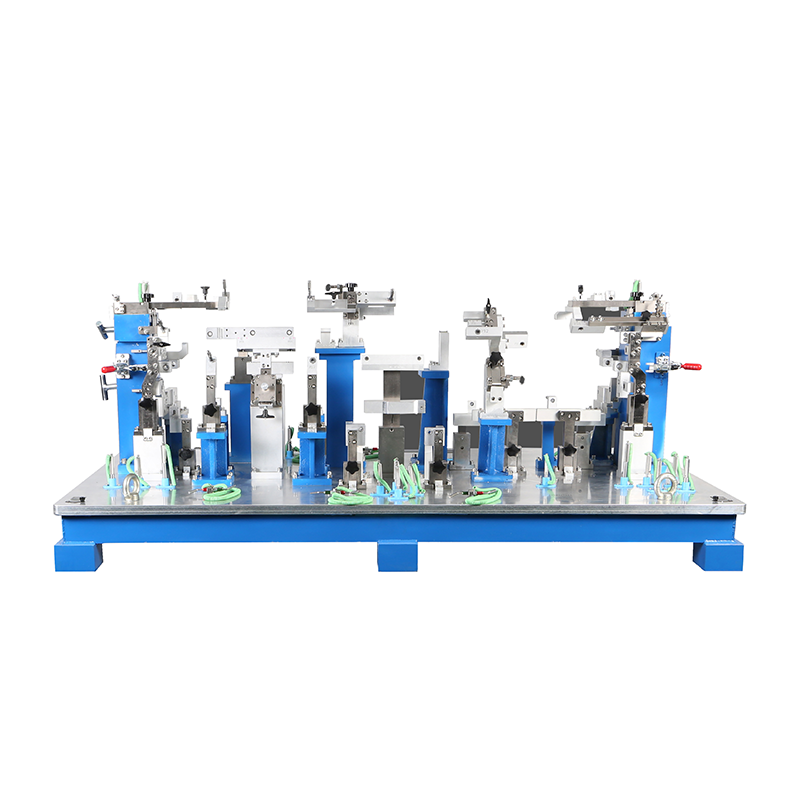
For Front Bumper quality inspection control and support to improve the automotive production line capacity rate.
Specification
|
Fixture Type: |
Assembly Plastic Parts Checking Fixtures |
|
Size: |
1880*910*1100 |
|
Weight: |
85KG |
Product Details


Detailed Introduction
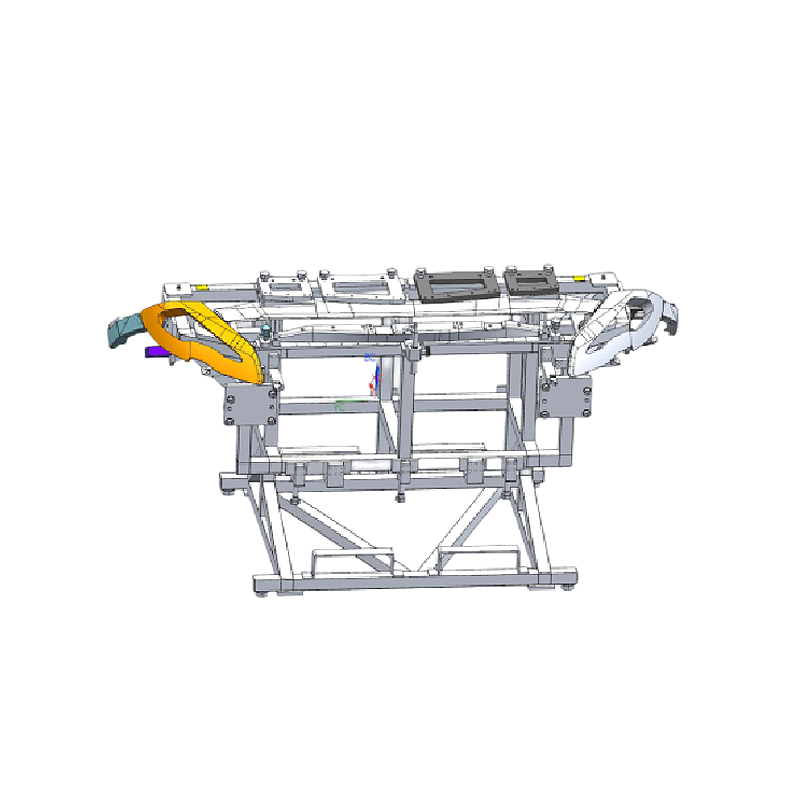
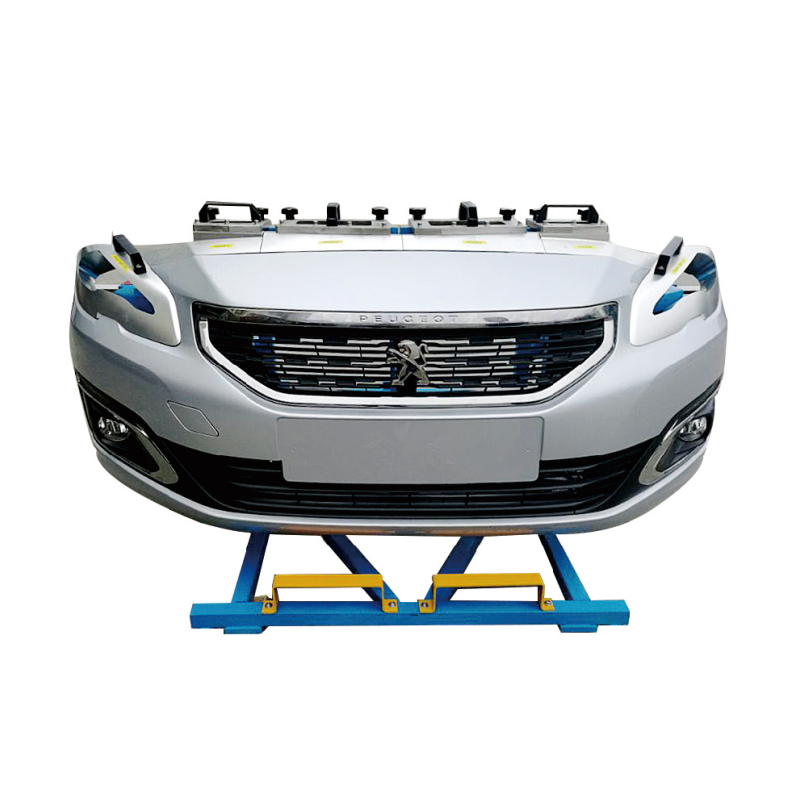
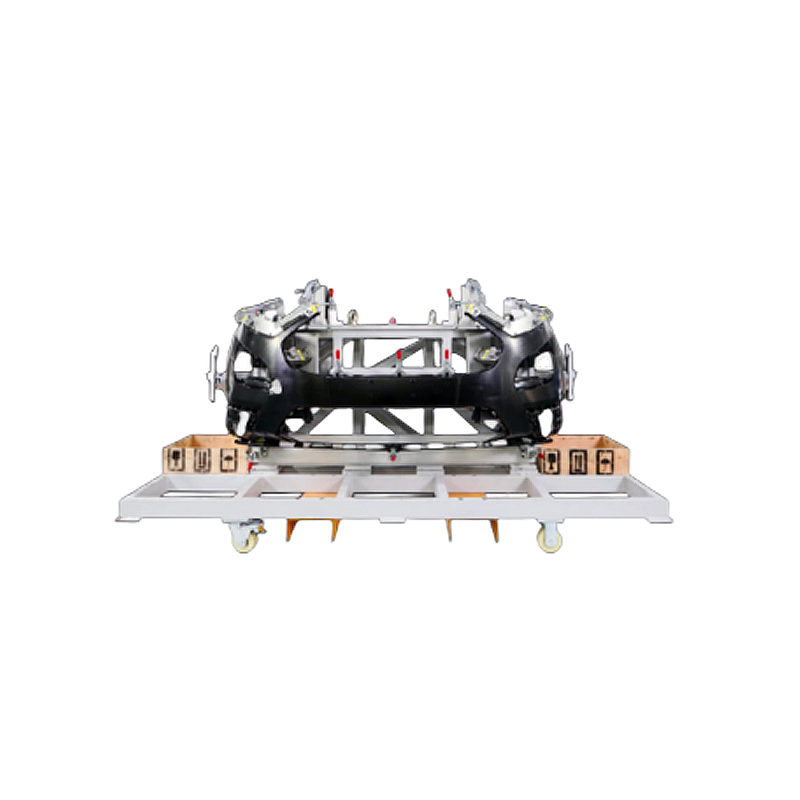
The purpose of this technology is to overcome the shortcomings of the existing technology and provide a vehicle front bumper check tool. The purpose of this technology through the following technical scheme: front bumper car fixture, including skeleton, whose character is: described in the framework is composed of several carbon fiber tube, described the framework set up by installing the aluminum plate on both ends of the same side with the first must have a module, the first must have a module shape of the lateral set on a first surface of the check module, Described the skeleton center set up the second shape check module, located in the shape of the second surface on the left and right side of the check module and the skeleton through setting a second positioning module, installation of aluminum plate between the second positioning module and the first must have a module set there is a third shape surface check module, the third shape surface check module near the second positioning module, The orientation of the second positioning module, the first shape surface inspection module, the second shape surface inspection module and the third shape surface inspection module are the same as the orientation of the first bit module. Furthermore, the first position module and the second position module of the automobile front bumper check tool are metal position modules. Furthermore, the first shape surface inspection module, the second shape surface inspection module and the third shape surface inspection module of the automobile front bumper inspection tool are shape surface inspection modules made of resin. Further, the front bumper check tool is provided with a threaded sleeve on the first position module and the second position module. The technology scheme of substantive features and represents progress is mainly embodied in: the technical framework is composed of carbon fiber tube, carbon fiber tube has good intensity, the advantages of light weight, at the same time, the first must have a module and a second positioning module manufactured metal materials can effectively secure the fixture as well as to keep positioning module can be used for a long period of time, the fixture using lightweight, easy to operate. The tester can not only meet enough strength, ensure accuracy.
Lead time & Packing
45 days after 3D design approved
5 days via express: FedEx by Air
Standard Export Wooden Case
We will add fixing wooden block inside cases to make sure fixture safety in shipping. Desiccant and plastic wrap will be used to keep the checking fixture from moisture in shipping.
Manufacturing tolerance
1. The Flatness of Base Plate 0.05/1000
2. The Thickness of Base Plate ±0.05mm
3. The Location Datum ±0.02mm
4. The Surface ±0.1mm
5. The Checking Pins and Holes ±0.05mm
Product detail pictures:
Related Product Guide:
Our business aims to operating faithfully, serving to all of our clients , and working in new technology and new machine continuously for Special Design for Gage Calibration - Automotive Checking Fixtures Customized Auto Parts / Automotive front Bumper mold with Testing Fixtures – TTM , The product will supply to all over the world, such as: Mexico, Riyadh, Roman, Our company's main products are widely used all over the world; 80% of our products exported to the United States, Japan, Europe and other markets. All stuff sincerely welcome guests come to visit our factory.
The supplier abide the theory of "quality the basic, trust the first and management the advanced" so that they can ensure a reliable product quality and stable customers.

1.png)

.png)
.png)