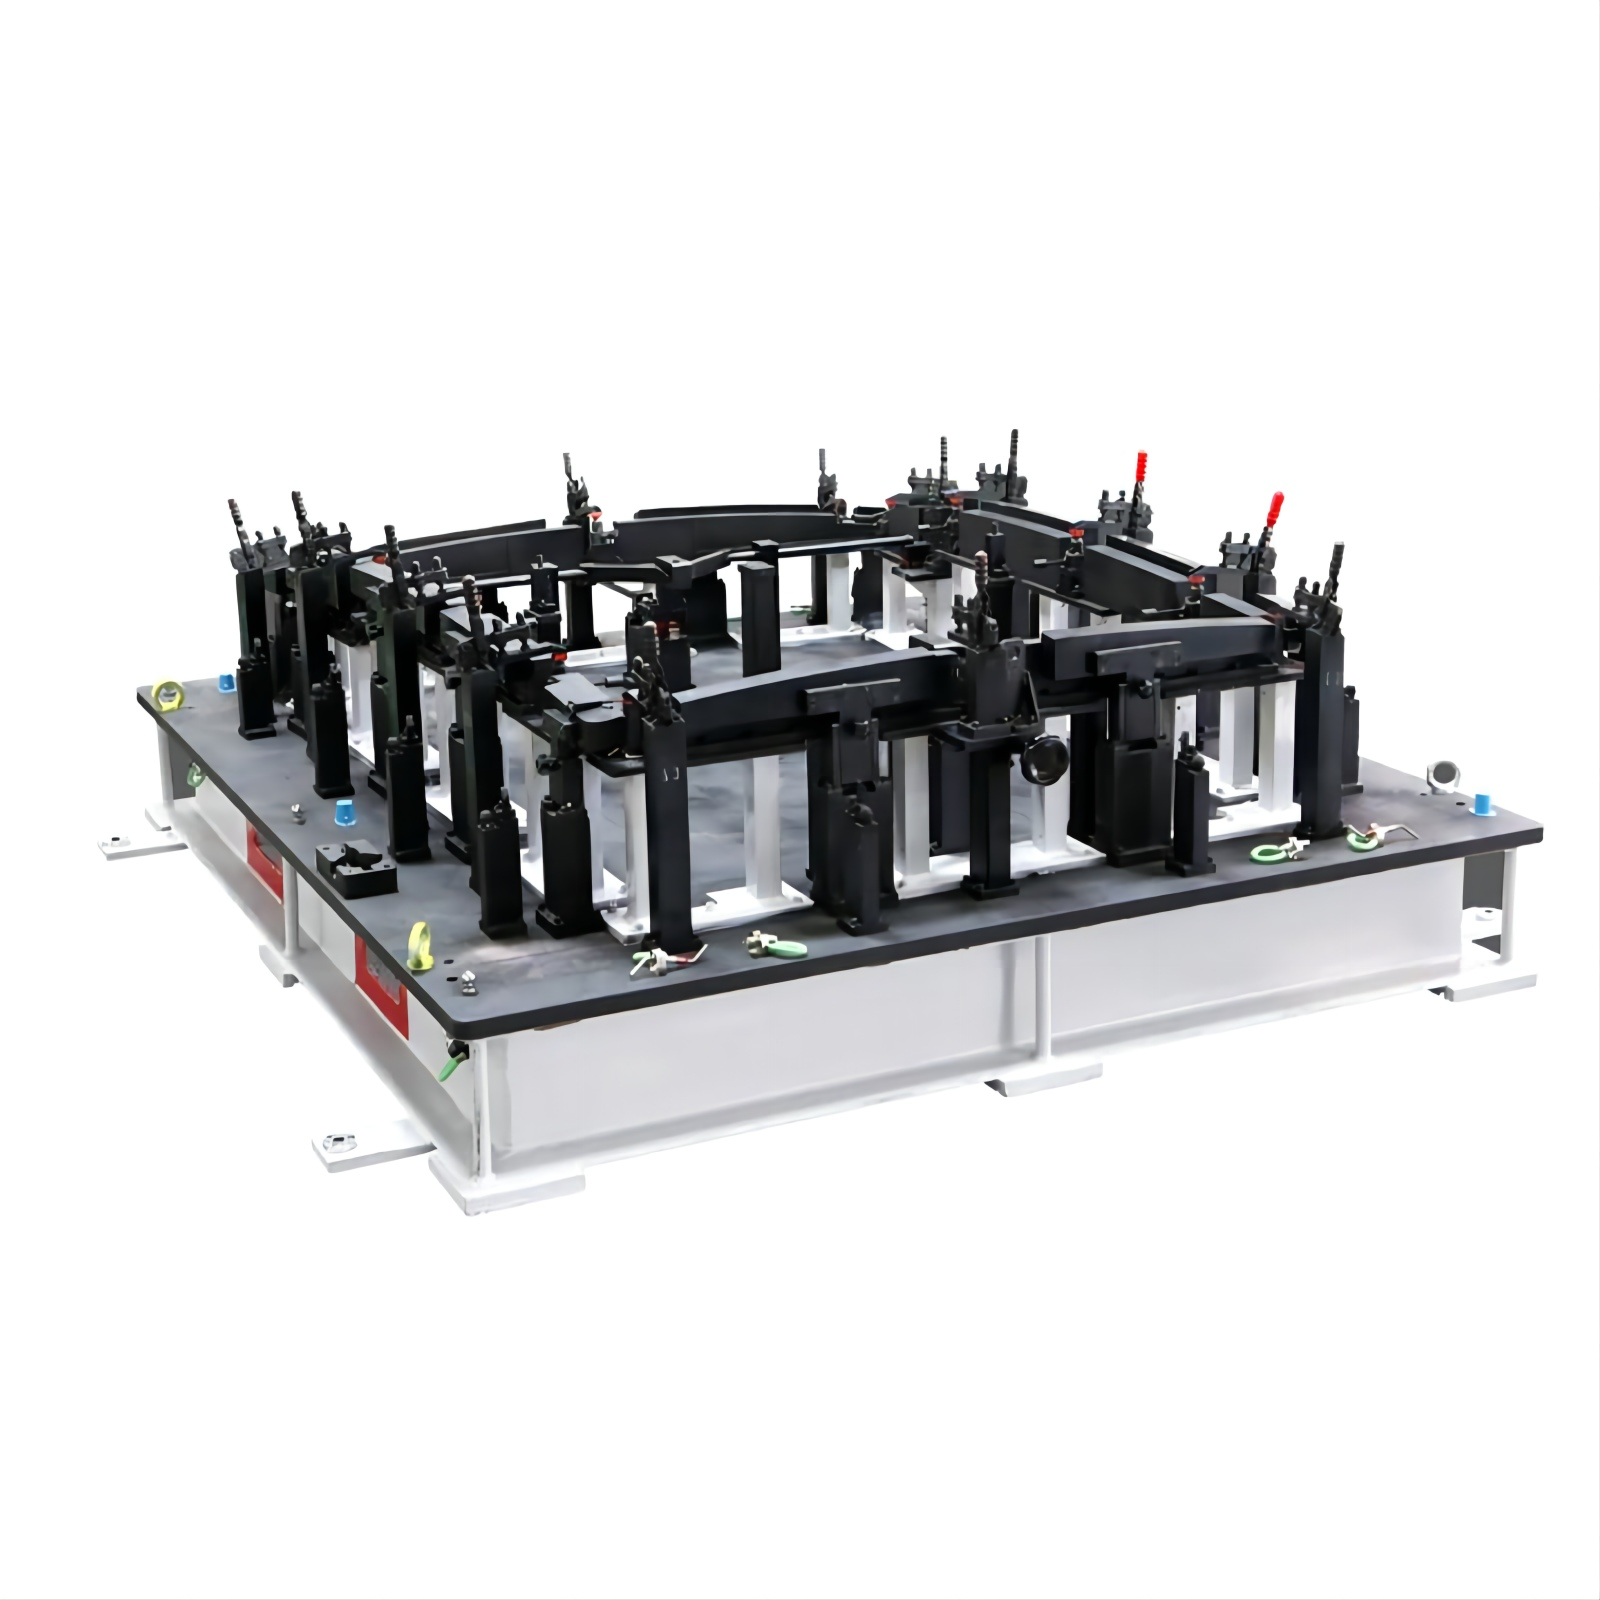
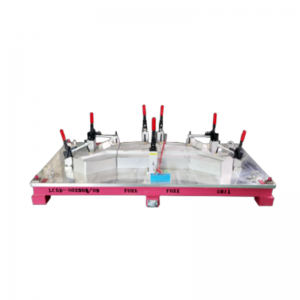
Roof checking fixture-R1900
Video
Function
For Roof quality inspection control and support to improve the automotive production line capacity rate.
Application Fields
Automotive industry quality control.
Automotive production line production capacity improve.
Specification
|
Fixture Type: |
Roof checking fixture |
|
Size: |
2530*1980*1570mm |
|
Weight: |
1600 kg |
|
Material: |
Main Construction: metal Support: metal |
|
Surface treatment: |
Base Plate: Electroplating Chromium and Black Anodized |
Detailed Introduction
At present, in the development of commonly used car roof projects, in order to enrich the choices of consumers, vehicle companies usually introduce a variety of model configurations for everyone to choose from, which makes some auto parts have different configurations in the same model. There are some similar differences, especially in the car roof , which usually include panoramic sunroof ceiling, small sunroof ceiling, non-sunroof ceiling, etc., which makes it necessary to make multiple inspection tools when developing roof products with different configurations of the same model. Testing whether the roof is qualified is basically equivalent to developing multiple products in terms of cost. The processing cost of multiple products individually designed is high and takes up a lot of factory storage space.
By dividing the inspection tool simulation block into an edge detection simulation block and a middle detection simulation block, the edge detection simulation block is used to detect the edge of the roof , and the middle detection simulation block is used to detect the protrusion in the middle of the roof , so as to realize the detection of different parts of the car; The detection simulation block is detachable and installed. When in use, the corresponding central detection simulation block can be replaced according to the local difference of the roof structure only, so that the entire inspection fixture structure only needs to replace the central detection simulation block. It can realize the detection of the ceiling of different models, reduce the design and processing cost, and at the same time, when the equipment is stored, it can greatly reduce the occupied space and improve the utilization rate of factory space.
Operation Sequence
1.Visual inspection to check part sharp edges ,cracks and burrs.
2.Using GO/NOGO to detect the size of hole of product.
3.Open the clamp and flip mechanism,Put the product on the main body.
4.Adjust the product so that it is in good contact with zero stickers.
5. Close the clamp and flip mechanism in sequence.
6.using the feeler 1(GOSØ2.5/NOGO Ø3.5)to check the profile 1.0mm.
7.using the feeler 2(GO Ø7.5/NOGO Ø8.5)to check the profile 1.0mm.
8.using the feeler 3(GO Ø7.0/NOGO Ø9.0)to check the profile 2.0mm.
9.using the feeler 4(GOSØ1.5/NOGOSØ4.5)to check the profile 3.0mm.
10.Use ±0.5 to detect the edge of the product.
11.Recording results on the inspection sheet.
12.Unclamping and removing part.






.png)
.png)