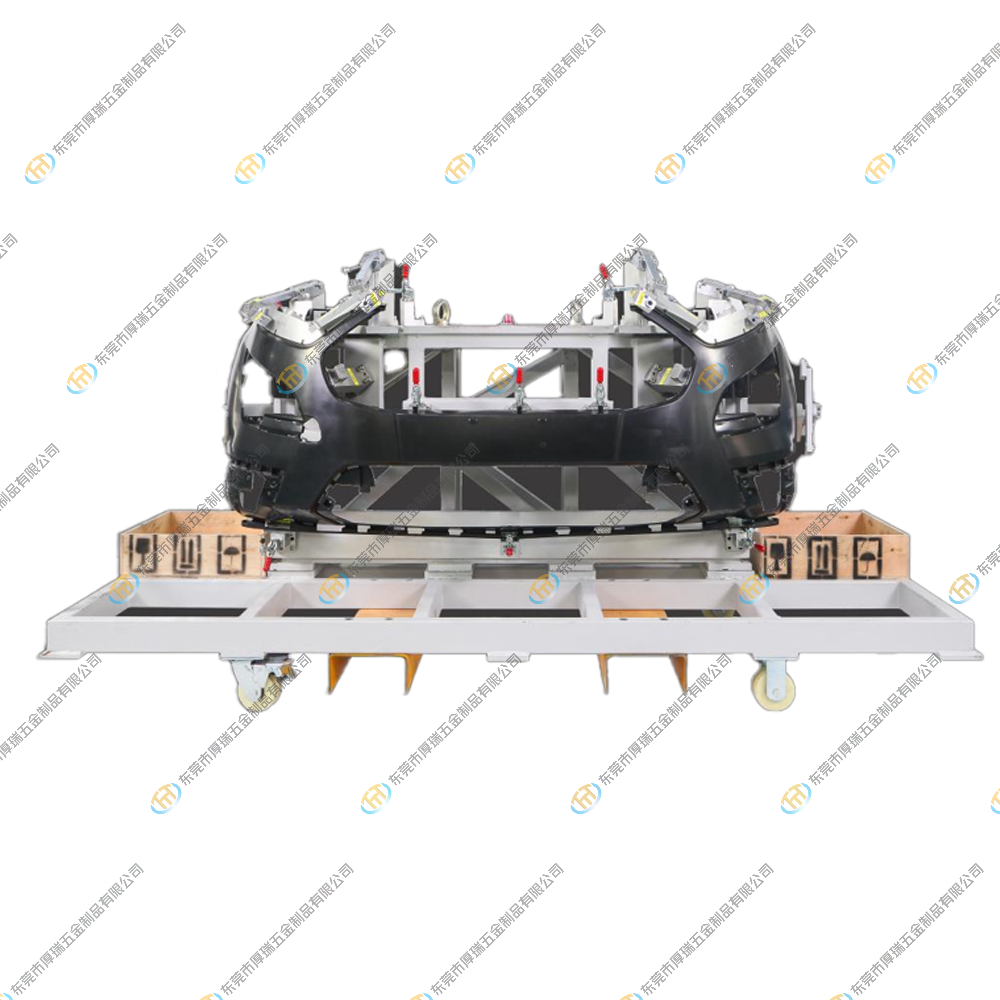
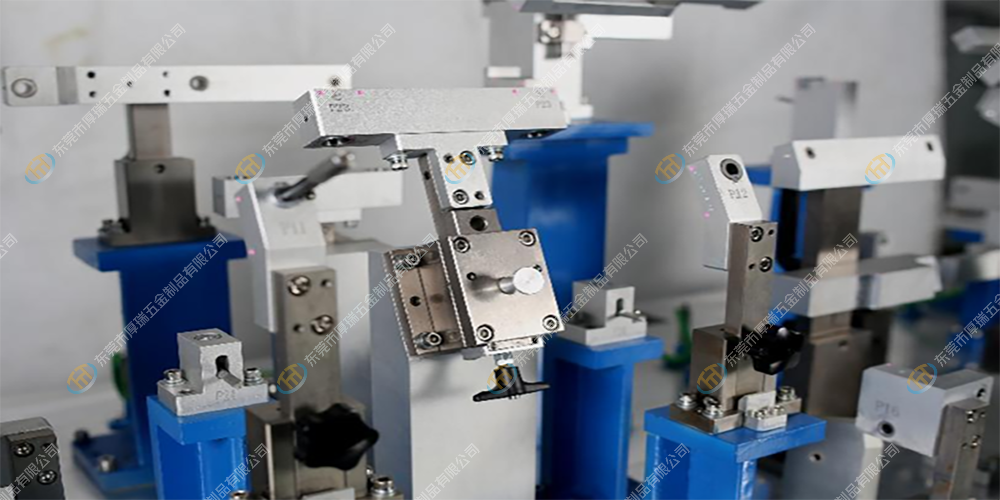
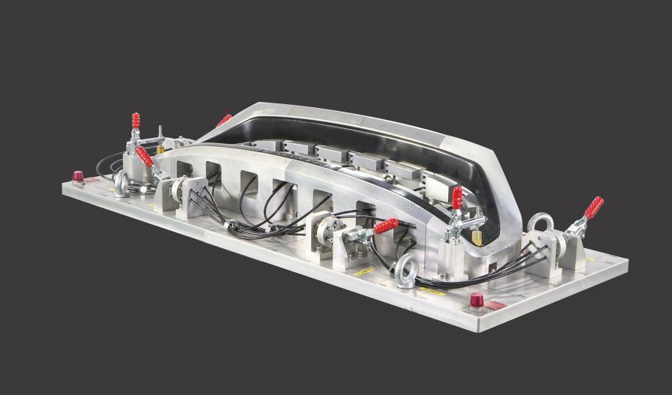
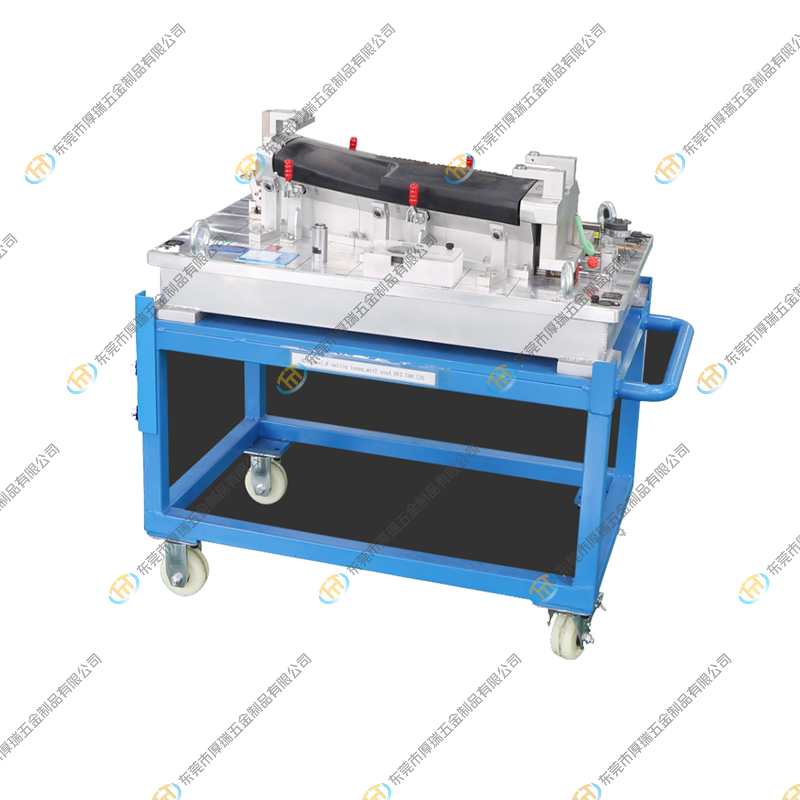
TTM is a company specializing in the manufacture of automotive inspection fixtures, welding fixtures, and molds. Its inspection fixture products include various positioning, clamping, and measuring inspection fixtures, which can meet various inspection needs in the automobile manufacturing process. TTM has many years of experience and technical accumulation in the field of automotive inspection tools, and has won the trust of the market with high-quality and high-precision products.In this article,we want to share what should be considered before designing the inspection fixture.
1. Accuracy requirements of parts
Whether the parts require high precision, medium precision, or low precision, distinguish the structural part or the subordinate part of the part. In many cases, when designing drawings, the designers do not consider the manufacturability, but directly generate 2D drawings from the 3D model, standardize the accuracy requirements according to the accuracy standard, and then complete the drawings without paying attention to the attributes of the product itself and the Rectification of requirements in the manufacturing chain. As a result, the precision of the parts is high, and the parts are often unqualified, but there is no problem with loading; or, the precision requirements of the parts are appropriate, but there are no requirements for the key areas that should be high precision, resulting in continuous instability in the production process.

2. The change characteristics of the parts themselves
The characteristics of part changes mostly come from changes in positioning accuracy, differences in material performance between groups, and deterioration of mold tooling equipment, resulting in changes in parts. Paying attention to the characteristics of its own changes is beneficial to the benchmark design of molds, fixtures, and inspection tools; those closed parts are surrounded by changing surfaces, but the benchmarks are all built on the surrounding changing surfaces, and the benchmark area and the changing area cannot form a relative relationship. The gage is directly invalid.

3. Structural characteristics of parts
The structural characteristics of the part mainly include the setting of the datum, whether the datum point is designed on the edge or on the profile; the angle relationship of the coordinate system. Structural features are generally determined by the assembly properties and design relationship of parts, but a good designer will consider the entire production chain when designing parts, and if the positioning system is found to be unreasonable, the part structure will be adjusted.

4. Whether the parts under the datum system of the linearly marked parts, the datum system, need to be converted to the 3-2-1 feature.
It is suggested that under linear labeling, it needs to be converted into 3-2-1;
Advantage 1, assigning coordinate system control relationship, can clearly locate and detect the relationship;
Advantage 2, reduce the error of the benchmark;
Advantage 3, unify the relationship between mold inspection fixtures, such as fixtures will only be controlled by as few points as possible, and the inspection fixtures will not be transformed into 3-2-1, there will be problems with the unity of fixtures and inspection fixtures, and the adjustment of fixtures will be difficult.
Post time: May-31-2023


.png)
.png)