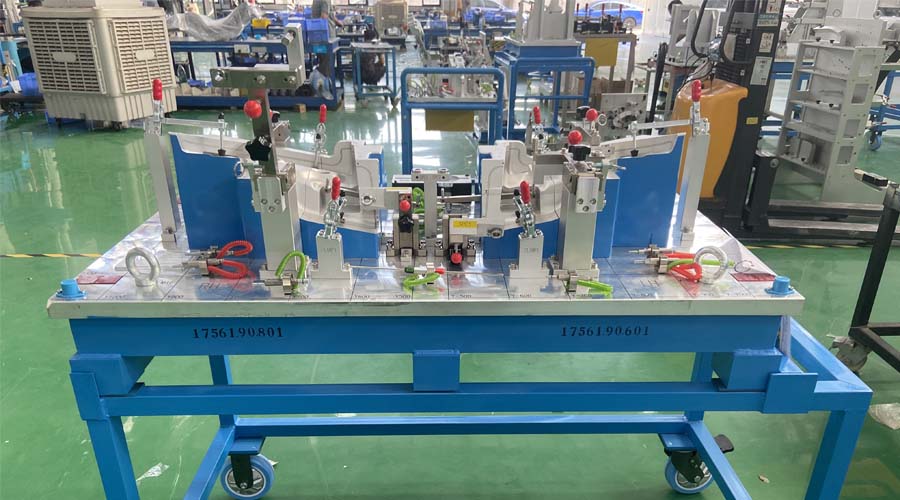
Checking fixtures, also known as inspection fixtures or gauges, come in various types, each designed to suit specific manufacturing and quality control needs. These fixtures are used to verify whether parts or components meet the required specifications. Here are some common types of checking fixtures:
- Attribute Gauges: Attribute gauges are used to determine whether a particular feature on a part meets a specific set of criteria. They are often designed with go/no-go features, where the part is accepted or rejected based on whether it fits into the fixture or not. These gauges are commonly used for features like hole diameter, slot width, or groove depth.
- Comparative Gauges: Comparative gauges are used to compare a part against a master reference part or measurement standard. They are useful for measuring dimensional accuracy and determining variations from a specified standard.
- Functional Gauges: Functional gauges assess a part’s performance by simulating its functional environment. These fixtures are often used to check the assembly of components to ensure proper fit, clearance, and functionality.
- Assembly Gauges: Assembly gauges are designed to verify the correct assembly of multiple components. They ensure that components fit together as intended and meet the required tolerances.
- Gap and Flush Gauges: These gauges measure the gap or flushness between two surfaces on a part. They are commonly used in automotive manufacturing to ensure consistent panel fit and finish.
- Surface Finish Gauges: Surface finish gauges measure the texture and smoothness of a part’s surface. These gauges are crucial in industries where surface finish is a critical quality parameter.
- Form Gauges: Form gauges are used to measure complex geometries, such as curved surfaces, contours, or profiles. They ensure that the part’s shape matches the required specifications.
- Datum Reference Frames: Datum fixtures establish a reference coordinate system based on designated datums (points, lines, or planes). These fixtures are essential for accurately measuring features on parts according to geometric tolerances.
- Cavity Gauges: Cavity gauges are used to inspect the interior dimensions and features of cavities, such as bores, holes, and recesses.
- Thread Gauges: Thread gauges measure the dimensions and tolerances of threaded features, ensuring proper threading and fit.
- Go/No-Go Gauges: These are simple fixtures with go and no-go sides. The part is accepted if it fits into the go side and rejected if it fits into the no-go side.
- Profile Gauges: Profile gauges assess the profile of a part’s surface, ensuring that it matches the intended shape and dimensions.
- Contact and Non-contact Gauges: Some fixtures use physical contact to measure features, while others employ non-contact methods like lasers, optical sensors, or cameras to measure dimensions and surfaces without touching the part.
These are just a few examples of the many types of checking fixtures used in manufacturing and quality control processes. The choice of fixture type depends on the specific requirements of the parts being inspected and the industry’s quality standards.
Post time: Aug-15-2023


.png)
.png)