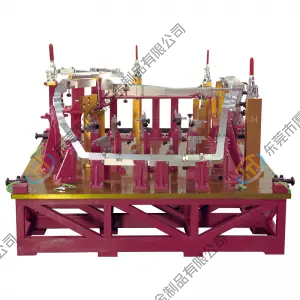
China checking fixture service OEM automotive checking fixture
Video
Specification
|
Fixture Type: |
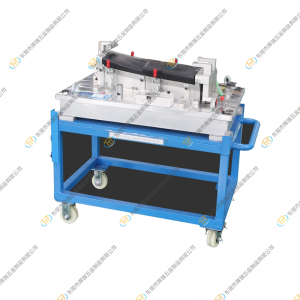
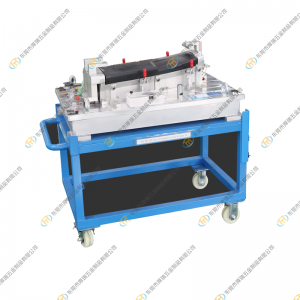
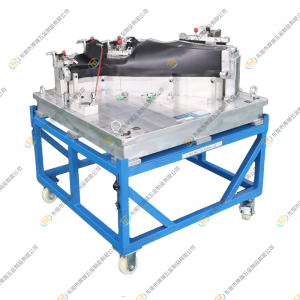
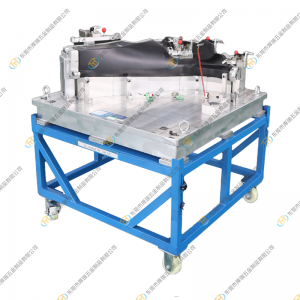
Checking Fixture for Lower Pillar B |
|
|
|
|
Part Name: |
Lower Pillar B |
|
Material: |
Main Construction: metal Support: metal |
|
Export Country: |
Mexico |
Product Details
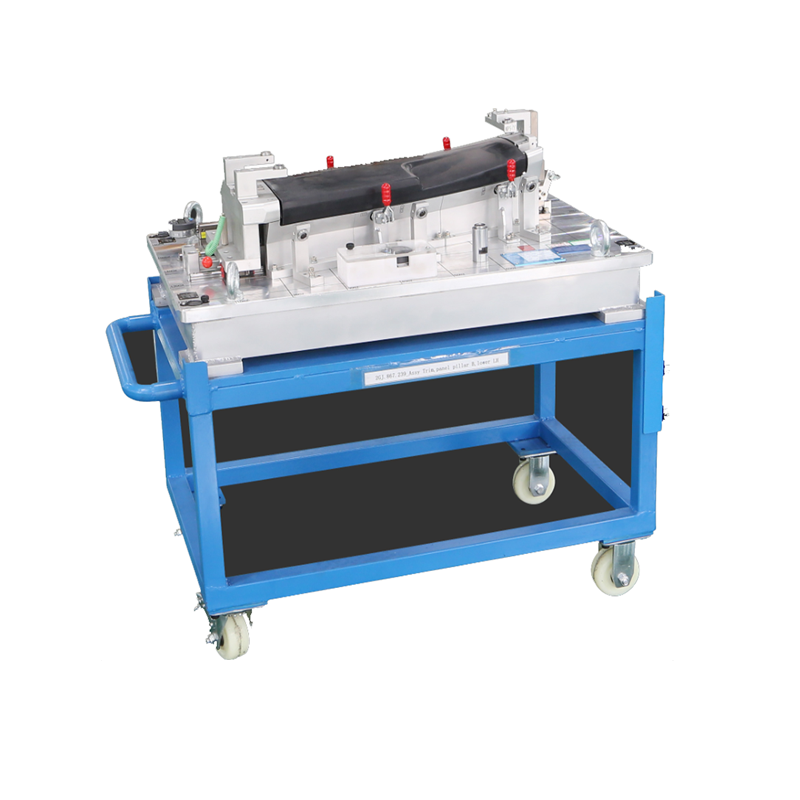
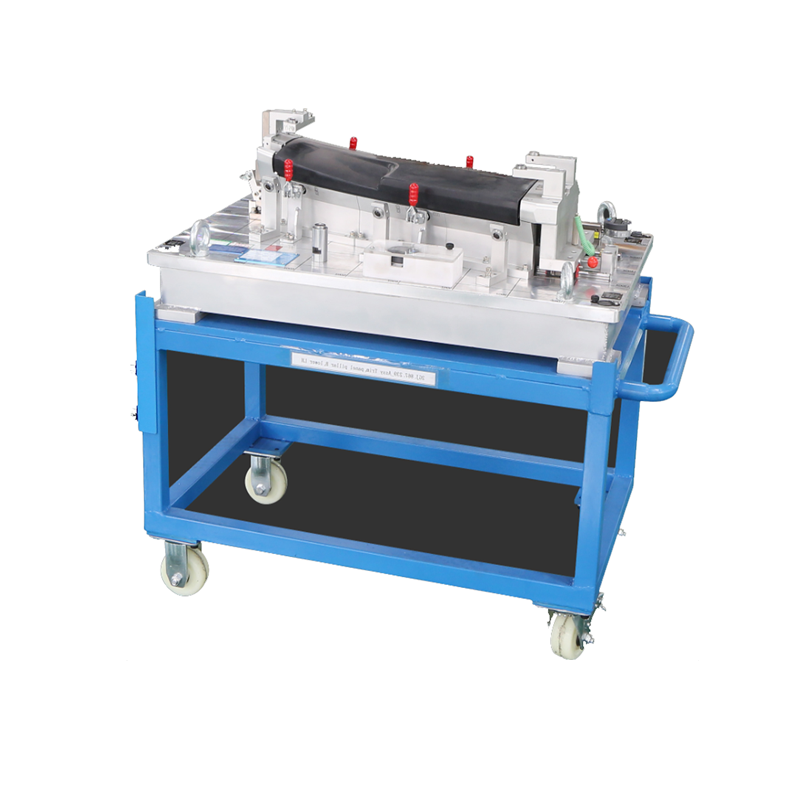
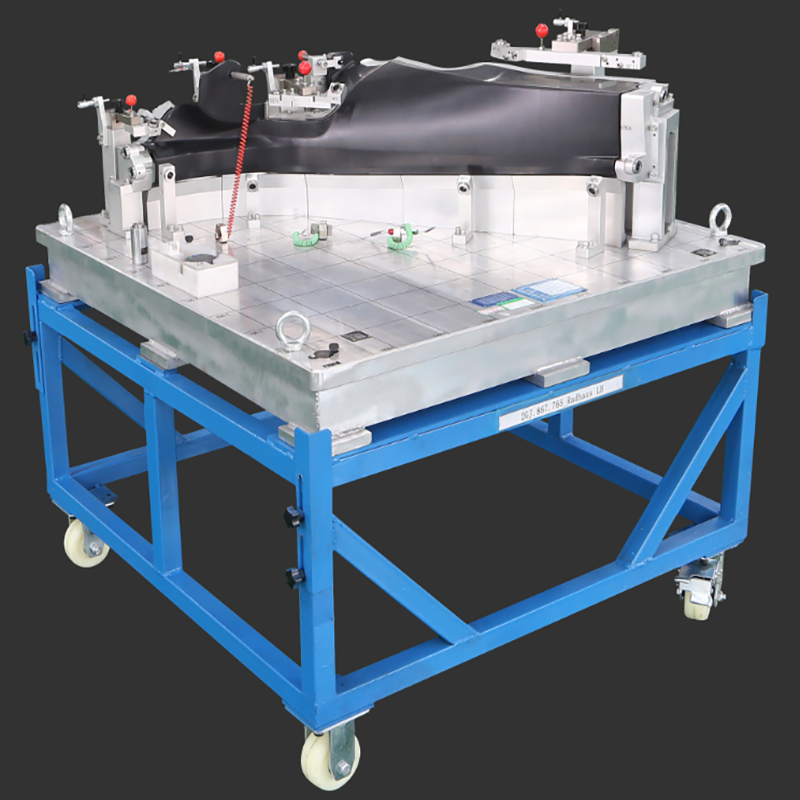
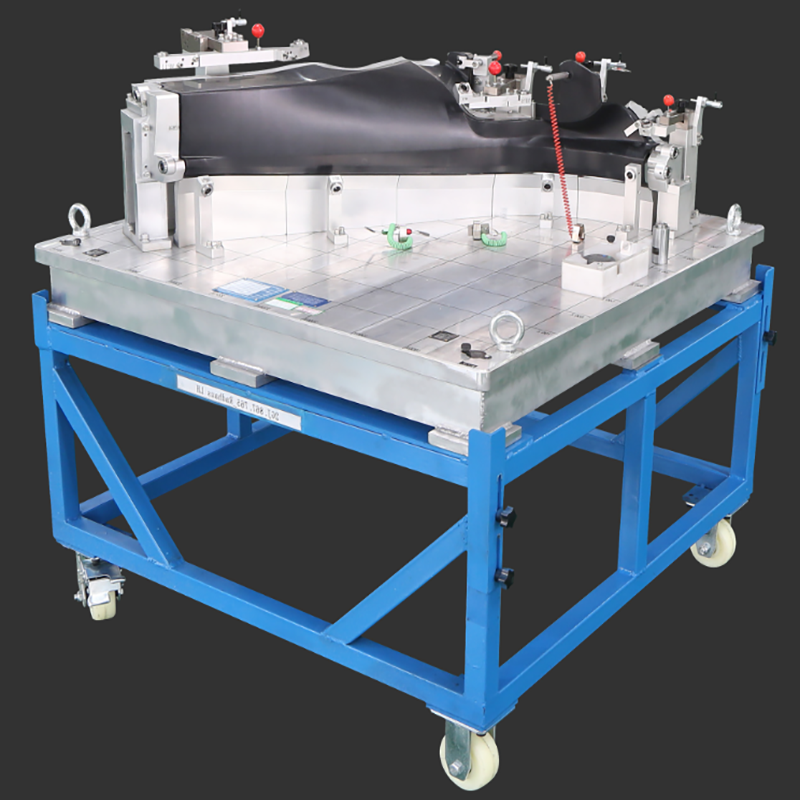
Detailed Introduction
This is a auto parts checking fixture according to the parts testing requirements to design, precision machining. Plastic is a polymer material with resin as the main component. Resin is divided into natural and synthetic two categories, plastic synthetic resin, according to the use of plastic can be divided into general plastics, engineering plastics and special purpose plastics. Plastic instrument is rich in sources, low cost, and has the advantages of low density, high specific strength, good insulation performance, chemical stability, vibration reduction and wear resistance.
The b-pillar is the pillar between the driver's side window glass and the rear side window glass, and its main function is to withstand side impacts. However, there is not enough energy-absorbing area on the side of the body, so for the B-pillar, sufficient strength and rigidity are important factors to ensure the safety of the driver in the event of a side collision of the vehicle. Therefore, the quality inspection of the car b-pillar is particularly important
The Working Flow
1. Received the purchasing order -——-> 2. Design -——-> 3. Confirming the drawing/solutions -——-> 4. Prepare the materials -——-> 5. CNC -——-> 6. CMM -——-> 6. Assembling -——-> 7. CMM-> 8. Inspection -——-> 9. (3rd part inspection if need) -——-> 10. (internal/customer on site) -——-> 11. Packing(wooden box) -——-> 12. Delivery
Manufacturing Tolerance
1. The Flatness of Base Plate 0.05/1000
2. The Thickness of Base Plate ±0.05mm
3. The Location Datum ±0.02mm
4. The Surface ±0.1mm
5. The Checking Pins and Holes ±0.05mm




.png)
.png)